This blog post is all about the replacement procedure for the Dodge Charger headlights. If you’ve noticed that your Dodge Charger’s headlights are flickering, dimming, or have burned out completely, it’s time to replace them.
Rest assured, this guide will walk you through the complete process of replacing the headlights on your Dodge Charger. If you’re dealing with burnt-out bulb issues, ballast failures, or control unit problems and want to replace the headlights, we’ve got you covered. By following these instructions, you’ll restore your Charger’s visibility and also help improve your overall safety on the road. So, let’s get started!

Understanding the Importance of Headlights
Headlights are important safety features that help you see and be seen while driving. The main purpose of headlights is to light up the road ahead so you can see obstacles, pedestrians, and other vehicles. Without proper lighting, the risk of accidents and crashes increases.
Also, the headlights are a mode of communication for drivers. By switching between high and low beams or flashing, one driver signals his/her intentions to other drivers, like yielding or passing. This helps avoid misunderstandings on the road. Furthermore, headlights also make your vehicle more visible from different angles. This reduces the chances of accidents, especially in low light or bad weather.
Dodge Charger Headlights Beam Technology
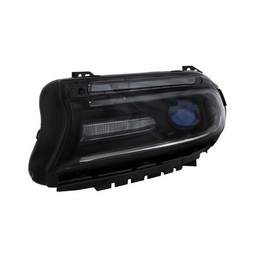
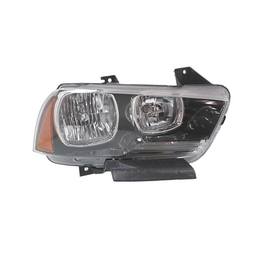
In the sleek and aggressive angles of the Dodge Charger, the headlights complement its character. Dodge Charger’s headlights typically have three technologies, i.e., halogen lights, HIDs, and LEDs.
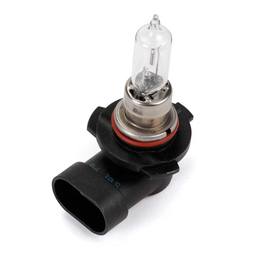
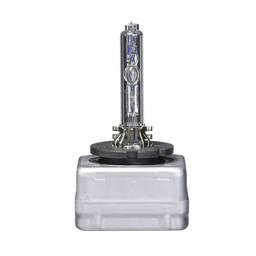
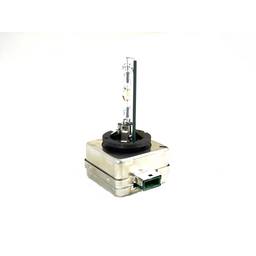
Halogen lights use a tungsten filament and halogen gas to produce light, offering moderate efficiency. High-intensity discharge (HID) lights use an electric arc between tungsten electrodes in a gas-filled tube. This provides brighter light but takes time to warm up. Light-emitting diode (LED) lights are the most efficient light technology. They generate light when electrons move through a semiconductor, offering high efficiency, durability, and superior lumens.
Apart from the above types, aftermarket LEDs are a great choice for drivers who want to customize their Chargers. Beyond its core functions, the aftermarket LED lights allow owners to add their unique touch to their vehicle to make it stand out on the road.
The Dodge Charger headlights combine usefulness and style. Whether regular halogen lights, HIDs, LEDs, or custom-fitted aftermarket LEDs, the headlights make the Charger look tough and famous. They are one of the reasons the Charger looks so good on the road.
Common Dodge Charger Headlight Problems
Headlights are crucial components of every vehicle, including the Dodge Charger. Like all parts, they also wear with time and can lead to several headlight problems. Here are the most typical issues Dodge Charger owners may have with their headlights.
Blown Bulb
Dodge Charger owners often face the issue of a blown headlight bulb, one of the most common headlight problems. Headlight bulbs have a finite lifespan and can burn out due to regular use, age, vibrations, electrical faults, or physical damage. When a bulb blows, it can show signs such as one non-functioning headlight, significant dimming, or flickering illumination.
When a bulb blows, it needs to be replaced quickly with a new one that matches the correct bulb type and connector specified for your Charger’s specific model year. Failing to replace a blown bulb can significantly impair visibility and compromise safety while driving at night or in low-light conditions.
Wiring Issues
The Dodge Charger headlight relies on a complex network of wires to transmit power and signals from the control unit. Over time, these wires can be damaged, corroded, or disconnected due to vibrations, heat exposure, or physical wear.
Faulty headlight connections can lead to intermittent or complete failure of the headlights or incorrect operation of the headlight functions. Checking and replacing damaged or degraded wiring is vital to restore proper headlight functionality.
Control Unit Issues
Dodge Chargers may experience control unit issues with their headlight systems. The control unit regulates headlight operation and can fail due to loose connections, software glitches, moisture/condensation in the housing, physical damage, or manufacturing defects.
Any fault in the control unit can cause the headlights to flicker, remain on constantly, or fail to illuminate properly. Addressing the control unit issues is necessary to resolve these persistent headlight problems.
HID Ballast Failure
Dodge Chargers with HID headlights rely on a crucial component known as the ballast to operate effectively. The ballast initiates and maintains a high-voltage electric arc in a xenon gas-filled bulb, which produces a bright plasma light. This controlled electrical arc is the source of the HID’s powerful illumination.
However, the ballast is susceptible to failure from regular wear, voltage fluctuations, or exposure to moisture. When a ballast begins to fail, it may cause the headlights to flicker, produce inconsistent light output, or, in some instances, prevent the headlights from working.
Fading of the Lens
Another common issue with Dodge Charger headlights is the fading of the lens over time. The headlight lenses can become oxidized and discolored due to long exposure to UV rays, road debris, and environmental factors.

As the lens fades, it scatters and reduces the amount of light that can pass through, reducing the headlight’s effectiveness. Lens restoration or replacement may be necessary to restore clarity and brightness for optimal visibility and safety.
Misalignment Problems
One of the least common but crucial issues is the misalignment of the headlights. Improper alignment happens when the headlight housings are not correctly positioned. This causes the beams to point in the wrong direction, reduces visibility, and potentially blinds oncoming traffic.
Misalignment can happen due to physical impacts, loosening of the mounting hardware over time, or issues with the adjustment mechanisms. Regular inspection and realignment of the headlights are crucial for optimal illumination and road safety.
Can you convert halogen headlights to LED?
Yes, it’s possible to convert halogen headlights to aftermarket LED headlights in many vehicles. However, checking the compatibility with your vehicle’s electrical system and headlight housing is important. Some conversions may require additional components or modifications to achieve the desired performance and avoid potential issues such as flickering, overheating, or dashboard warnings.
Get Genuine MOPAR Parts at Unbelievable Prices
Welcome to Newparts.com, where Dodge lovers can find genuine MOPAR and OEM parts at prices that break the norm. We’re not like other stores that sell car parts; we’re trendsetters, changing how folks maintain their rides by being devoted to excellence.
Our aim is straightforward: to get top-notch parts at the lowest rates possible for all Dodge fans. Our determined commitment to quality drives us to handpick each item in our collection to ensure it perfectly matches your Dodge’s specific needs.
At Newparts.com, we’re more than just a parts supplier; we’re your trusted partner in keeping your Dodge running smoothly. We’re dedicated to giving you the best value without compromising standards. We want to help you save a huge amount while keeping your car in tip-top shape.
It’s well-known that we’re the go-to place for picky Dodge fans who accept nothing but the best. We’re also proud to be the top choice for savvy shoppers who prioritize trust and value in every car purchase. Visit Newparts.com now to enhance your driving experience without breaking the bank.
Dodge Charger Headlights Replacement: DIY
You can replace the headlights on your Dodge Charger yourself and save money. You just need the right tools and a bit of patience. It’s not too complicated and can keep your Charger’s headlights working well.
Note – This procedure is tailored for a 2015 Dodge Charger, but it’s likely applicable to other Dodge Charger models as well, as they may have common design features.


Caution
- Park on a Flat Surface.
- Turn off the engine and engage the parking brake.
- Work in a well-ventilated area.
- Make sure the headlights are turned off.
- Disconnect and isolate the battery’s ground cable to prevent electrical shocks or shorts.
- Use PPE (safety gloves and safety glasses).
Gather the Necessary Tools and Materials
- Hydraulic Jack
- Jack stands
- Ratchet and socket set
- Impact wrench and lug nut socket
- Torque wrench
- Screwdriver set
- Clip remover tool
- Work Light or Flashlight
- Clean Cloth and Headlight Cleaner
Removing the Wheel Housing Liners
- Lift and support the car safely.
- Remove both front wheels.
- Pull out the pins holding the body’s side cladding.
- Remove the screws holding the lower front wheel cover to the front part and the body.
- Take out any remaining screws, then remove the front wheel cover.
- If you aim to replace the bulbs, you can now access it from the back of the headlight. We have also covered this section further in this step-by-step guide.
Remove Engine Underbelly
- Remove the four screws holding the back part of the belly panel.
- Pull the rear belly pan rearward out of the front belly pan to remove it from the vehicle.
Front Bumper Removal
- Remove the 12 screws holding the upper part of the radiator.
- Remove the bolts holding the upper fender to the bumper on each side.
- Unpin the screws holding the bumper to the fender on both sides.
- Disconnect the wires for the marker light and fog lamp, if there are any.
- Carefully pull the sides of the front bumper to loosen it, then pull it forward and remove it.
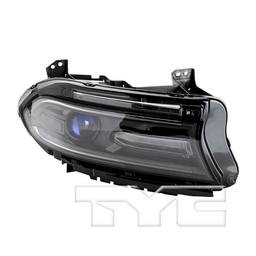
Remove headlight assembly
- Take out the two screws holding the top of the headlight.
- Remove the two screws holding the bottom of the headlight.
- Carefully pull the old headlight away from the front of the car to reach the wires on the back.
- Remove the old headlight from the car.
Install new headlight
- Unbox and verify the fit of new headlights, checking for instructions and extra parts.
- Connect any disconnected wirings removed previously.
- Securely reattach the headlight using previously removed screws or bolts, ensuring tight fastening.
- Carefully align and position the headlight assembly without damaging wires or connectors.
Test the headlights
- Test the new headlights before reassembling the rest of the car.
- Turn on the headlights to verify that the low and high beams work as expected.

Reassemble
- To reinstall, follow the removal steps in reverse order.
- Ensure all fasteners are secured properly and all electrical connections are reconnected before reconnecting the battery.
- New headlights must be aligned if its beam is not pointing in the right direction.
Final checks
- Double-check that all components are securely attached and all electrical connections are properly reconnected.
- Test the headlights again to confirm they still function correctly after reassembly.
Choosing the Right Replacement Headlight Bulbs
We have learned about the most common problems with Dodge Charger headlights up until now. Next, consider the factors when selecting headlight bulbs for your Dodge Chargers. Picking the right new headlight bulb for your Dodge Charger is important. You want headlights that work well, fit properly, and last longer. Here’s some advice to help you choose.
Consider Compatibility
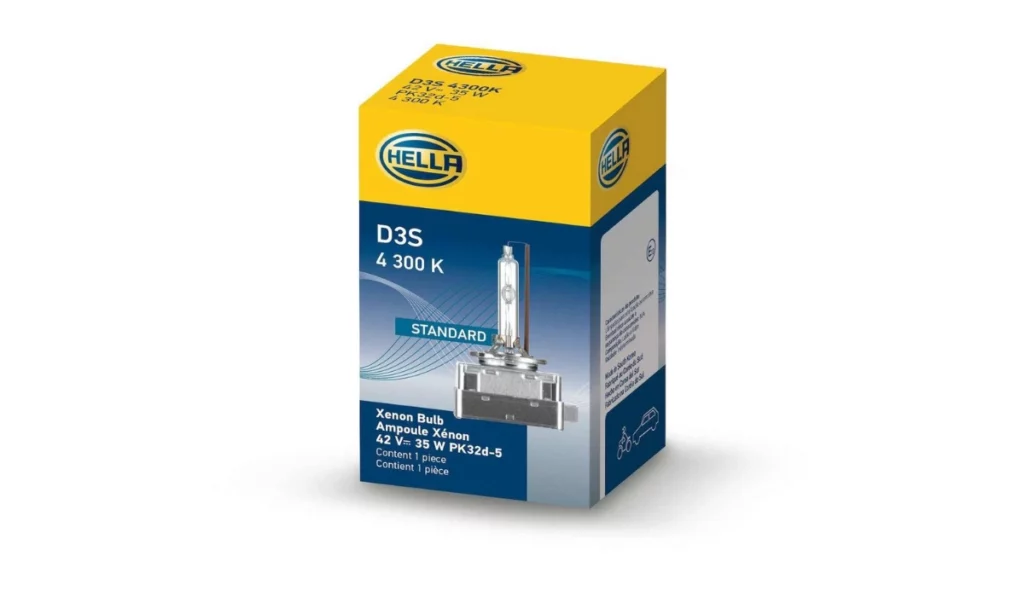
Before purchasing Dodge Charger headlights for replacement, ensure they are compatible with your Dodge Charger model year and trim level. The Dodge Charger’s headlight bulb types and connectors vary across different model years. These bulbs can be halogen, HID, or LED, although LED variants are predominantly aftermarket, as factory-installed LED lights are typically integrated into the headlights.
| Model Year | High Beam Halogen and Aftermarket LEDs Bulb Type | Low BeamHalogen and Aftermarket LEDs Bulb Type | HID Headlight Bulb Type |
| 2016 – 2020 | 9005 | 9005 | D3S |
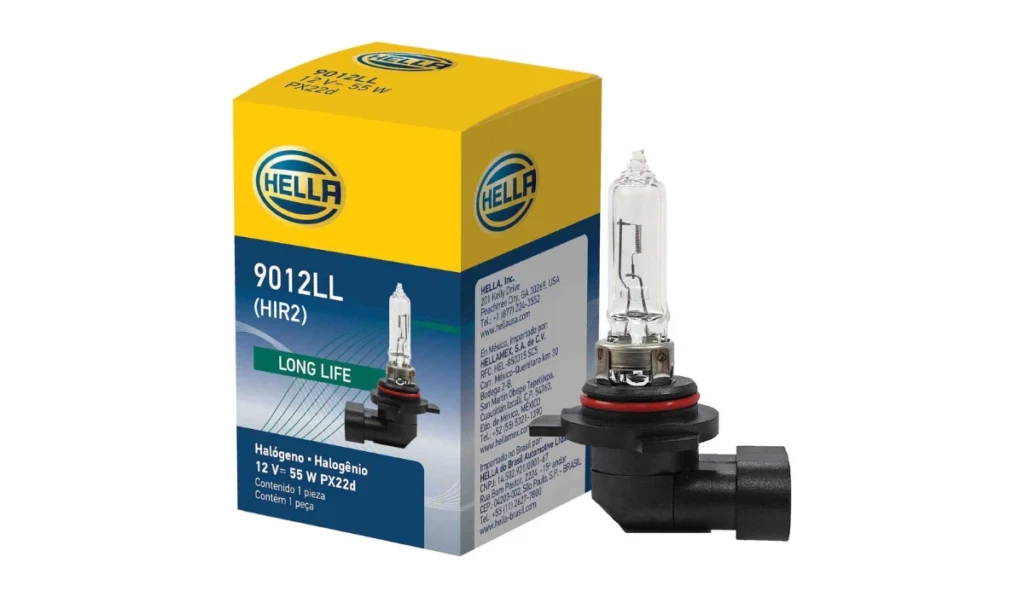
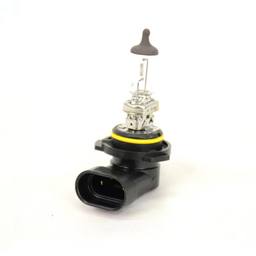
| 2015 | 9012 | 9012 | D3S |
| 2011 – 2014 | 9005 | H11 | D3S |
| 2006 – 2010 | 9005 | 9006 | D1S |
Evaluate Lighting Technology
Decide on the type of lighting technology your Dodge Charger was equipped with and the type you prefer for your replacement headlight bulbs.
Halogen Bulbs — If your Dodge Charger originally had halogen bulbs, you have options like sticking with OEM or aftermarket halogen replacements, trying aftermarket HIDs (which require adding a ballast), or considering aftermarket LED bulbs.
HID Bulbs — If your Charger comes with HIDs, upgrading to HIDs with different color options is possible. However, sticking with the same power output is crucial to avoid premature failure or system faults. Vehicles originally equipped with HIDs cannot be replaced with LEDs or halogens, as they will also generate a fault.
Light Emitting Diodes (LED) — LEDs are brighter and more efficient. If your Charger already has factory-installed LEDs, it’s generally best to keep them, as they’re top-notch in their category.
What is better HID or LED headlights?
LED headlights are usually better than HID headlights in terms of energy efficiency, brightness, and longevity. While HID lights offer close-to-day illumination, LEDs are more durable, energy-efficient, and require less maintenance. Due to their extended lifespan and efficiency, LEDs are often considered a better long-term investment despite higher initial costs.

Assess Quality and Brand Reputation
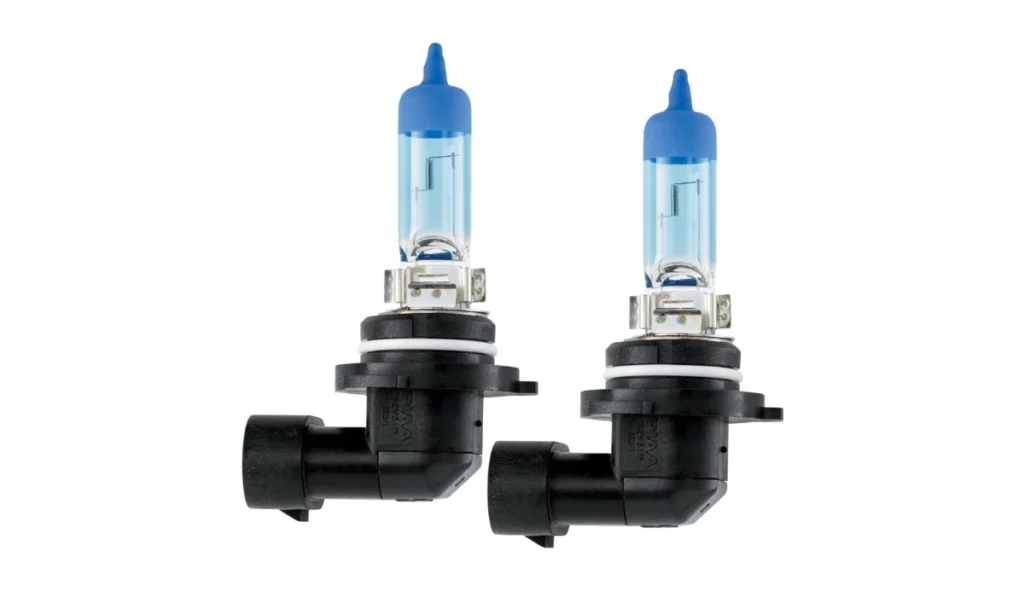
When upgrading the Dodge Charger headlights, choose trusted brands such as Hella and PIAA. Research different headlight models and read other owner’s reviews about performance and durability.
It’s best to select OEM headlights or respected aftermarket brands. These headlights are designed to fit your Charger precisely and work seamlessly with its electrical systems. Sticking to quality brands helps ensure proper fit, function, and longer service life compared to cheap, unknown alternatives.
Evaluate Cost and Budget
Set a budget for new headlights and explore different options. The OEM headlights offer precise fitment and quality assurance but charge slightly higher than usual. Meanwhile, the aftermarket alternatives can deliver comparable performance at a lower price point.
Check Legal Requirements
Ensure new Dodge Charger headlights comply with local regulations and legal requirements regarding brightness, color temperature, and beam pattern. Non-compliant headlights can lead to fines or legal consequences.
To further guide you through making the best choice for your vehicle, consider the insights offered in our detailed article: When Should You Get New Headlight Bulbs for Your Car?


Halogen and HID Bulb Removal: DIY
- Once the wheel housing liners are removed, locate the access panel for the headlight bulb located at the rear of the headlight.
- Remove the access panels by unscrewing them counterclockwise.
- To remove the old bulb from the socket, twist it counterclockwise. For HIDs, make sure to twist it on the locking tab, not the bulb itself.
- Disconnect the electrical connector from the back of the old bulb. Avoid touching the glass part of the new bulb with your fingers, as the oil from your skin can cause hot spots and lead to premature failure.
- Connect the new halogen or HID bulb to the electrical connector.
- Insert the new bulb into the socket and twist it clockwise to lock it in place.
- Reinstall the access panels.
- Reinstall the wheel housing liners and test your new headlight bulbs.
Are LED headlights expensive to replace?
LED headlights can be more expensive to replace than traditional halogen bulbs. However, you can cut the replacement cost by doing the job yourself using the DIY techniques described earlier. The longer lifespan of LED headlights often offsets this initial cost.
While the upfront expense might be higher, the reduced frequency of replacements and energy efficiency can make LED headlights a more cost-effective option in the long run.
Maintenance Tips for Headlights
Proper maintenance of your Dodge Charger’s headlights is essential to ensure optimal performance, visibility, and road safety. Here are some tips to help you maintain your headlights effectively:
Regular Cleaning
Clean your headlights regularly to remove dirt, grime, and debris that can accumulate on the lens surface and impair visibility. Use a mild soap solution and a soft microfiber cloth and gently wipe away dirt and residue. Avoid using abrasive cleaners or rough materials that may scratch or damage the lens.
Polishing and Restoration
If your headlights have become foggy, yellowed, or oxidized, consider polishing or restoring the lens to improve clarity and brightness. Use a specialized headlight restoration kit containing sandpaper, polishing compound, and UV sealant to remove surface imperfections and restore the lens to its original condition.

Protective Coating
After cleaning or restoration, apply a protective coating or sealant to the headlights. This provides long-lasting protection against UV rays, oxidation, and environmental contaminants. UV-resistant coatings can also help prevent lens yellowing or fading and maintain optical clarity.
Adjust Headlight Aim
Periodically check and adjust the aim of your headlights to ensure proper alignment and desired illumination. Misaligned headlights can cause glare, uneven lighting, and reduced visibility, increasing the risk of accidents. Use the adjustment screws located near the headlight housing to align the beams horizontally and vertically according to manufacturer specifications.
Inspect Bulbs and Wiring
Regularly check the headlight bulbs, sockets, and wiring for signs of damage, corrosion, or wear. Replace any burnt-out bulbs, frayed wires, or corroded connectors to prevent malfunctions and maintain reliable electrical connections. Consider upgrading to high-quality bulbs for improved durability and performance.
Get Dodge Charger Headlights from Newparts.com
Driving your Dodge Charger in the dark shouldn’t be a guessing game. Ensure optimal visibility and safety on the road with Newparts.com’s premium selection of Charger headlights. Our genuine MOPAR and OEM headlights are engineered to deliver crystal-clear illumination and durability.
But that’s not all! At Newparts.com, we’ve got you covered from start to finish. Upgrade your Charger with our top-of-the-line wiring harnesses, fuses, and connectors, ensuring seamless integration and hassle-free installation. Say goodbye to dim, flickering lights and embrace the confidence of a well-lit ride.
Our commitment to quality doesn’t stop there. Newparts.com offers a comprehensive range of maintenance essentials to keep your Charger running at its best. Switch to Newparts.com and feel the difference.