When it comes to maintaining the performance and safety of your RAM 1500, understanding the health of your truck’s wheel bearings and hub is crucial. Wheel bearings are essential in ensuring smooth wheel rotation and minimizing friction, directly impacting your truck’s drivability and safety.
However, like any mechanical component, wheel bearings can wear out over time, leading to many problems that, if left unaddressed, could result in costly repairs or even hazardous driving conditions.
In this article, we’ll explore the key symptoms of failing wheel bearings in a RAM 1500, discuss the common causes behind these issues, and offer practical repair solutions. By the end of this guide, you’ll be equipped with the knowledge to identify wheel bearing problems early and take the necessary steps to fix them, ensuring your RAM 1500 remains in top condition for miles to come.
What Are Wheel Bearings?
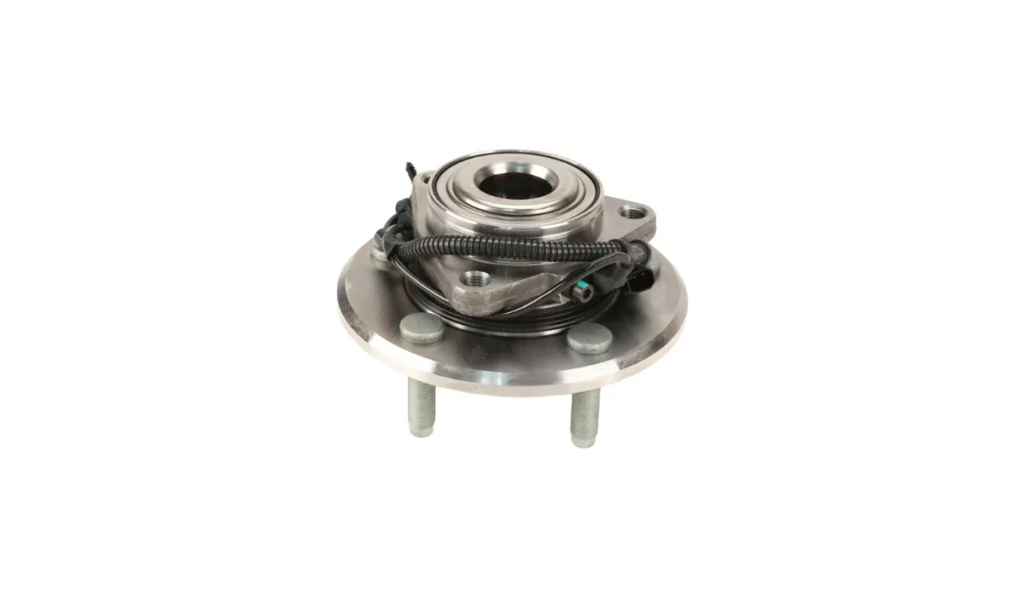
Wheel bearings are a set of steel balls or rollers held together by a metal ring, known as a race. They are located at the hub of each wheel, enabling the wheel to rotate freely around the axle with minimal friction. In the RAM 1500, these bearings are designed to withstand the vehicle’s significant weight and the harsh conditions it often encounters, whether on rough roads or during off-road adventures.
The primary function of wheel bearings is to facilitate the smooth rotation of your wheels while supporting the weight of your truck. By reducing friction, they help maintain stable wheel movement and contribute to the overall handling and efficiency of your RAM 1500.
A properly functioning wheel bearing ensures that your wheels rotate without excessive resistance, essential for performance and safety. Without well-maintained bearings, your truck could experience steering difficulties, increased tire wear, and even potential wheel detachment under extreme conditions.
Common Symptoms of Bad Wheel Bearings in a RAM 1500
Identifying the signs of a failing wheel bearing early can prevent serious damage and costly repairs down the road. The symptoms of a bad wheel bearing can vary, but they often manifest in ways that affect your truck’s handling and performance. Awareness of these common indicators will help you address the issue before it escalates.
Grinding or Humming Noise
One of the most common signs of a failing wheel bearing is a grinding or humming noise that becomes more pronounced at higher speeds or when making turns. This noise is caused by the metal components within the bearing rubbing against each other due to a lack of lubrication or internal damage. If you notice such noises, it’s essential to inspect your bearings immediately.
Vibration in the Steering Wheel
If you experience vibrations in the steering wheel while driving, especially during acceleration or cornering, it could be a sign of a worn-out wheel bearing. These vibrations occur because the compromised bearing allows slight movements of the wheel, which travel up through the steering system.
Uneven Tire Wear
Uneven or rapid tire wear is another symptom that might indicate a problem with your wheel bearings. When a wheel bearing is failing, it can cause the wheel to wobble slightly, leading to inconsistent contact with the road surface. This uneven pressure results in abnormal tire wear, which can reduce the lifespan of your tires and negatively impact your truck’s handling.
Wheel Play or Looseness
When inspecting your RAM 1500, if you notice that a wheel has more play or looseness than it should when jacked up, it might point to a worn-out wheel bearing. This looseness is due to the bearing no longer holding the wheel securely, which can be dangerous if not addressed promptly.
ABS Warning Light
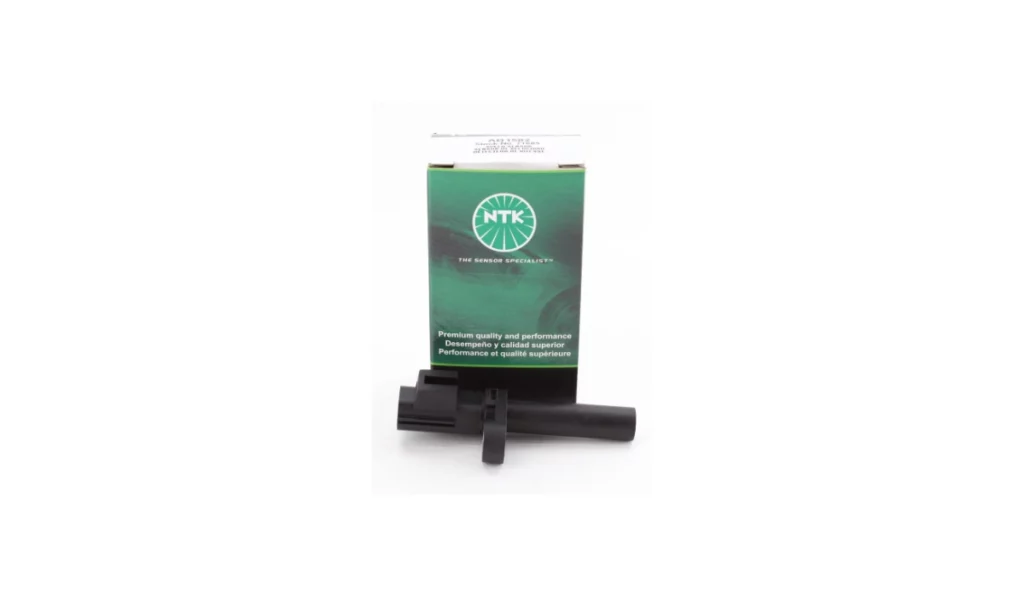
A failing wheel bearing can sometimes trigger the ABS (Anti-lock Braking System) warning light on your dashboard. This occurs because the wheel speed sensors, often integrated into the bearing assembly, can be affected by the bearing’s condition. If your ABS light comes on in conjunction with any of the above symptoms, it’s crucial to check the wheel bearings.
Many drivers tend to overlook these warning signs, often without realizing the potential consequences. Neglecting symptoms of bad wheel bearings can compromise the safety of your vehicle, increasing the risk of accidents and also lead to more severe damage, resulting in costly repairs down the line. It’s always better to address these issues early on to avoid unnecessary risks and expenses.
How do I know if my RAM 1500 wheel bearings are bad?
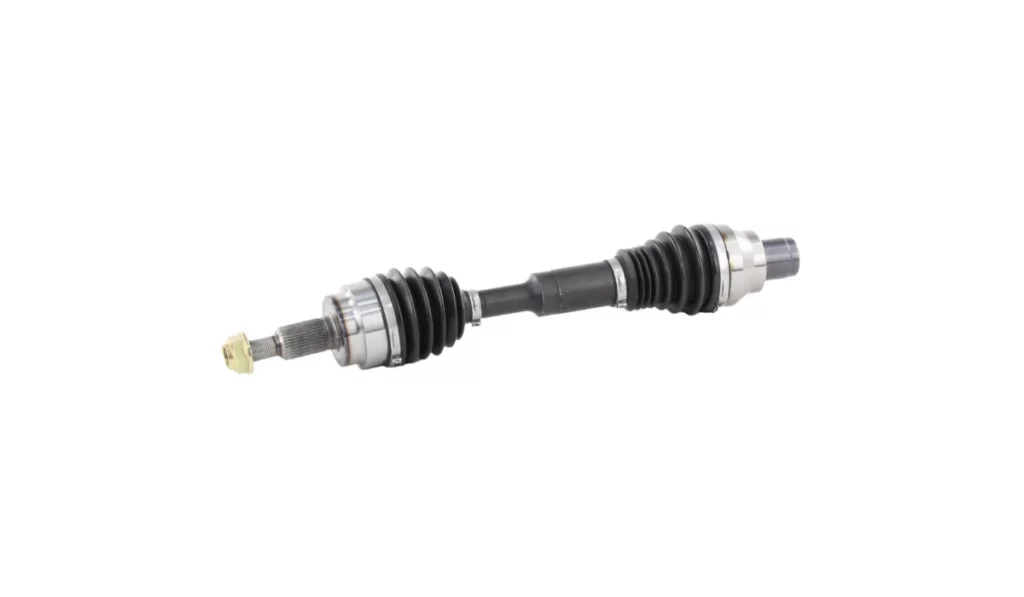
If you suspect your Ram 1500’s wheel bearings might be bad, look out for symptoms such as grinding or humming noises, steering wheel vibrations, uneven tire wear, wheel play, or an illuminated ABS light. However, it’s important to note that some of these symptoms can also be indicative of other issues, such as a bad CV axle.
Both a failing wheel bearing and a bad CV axle can produce similar symptoms, making it challenging to diagnose the exact issue without a thorough inspection. If you experience these signs, it’s advisable to inspect both the wheel bearings and the CV axle shaft to accurately identify the problem. For more detailed information, refer to the specific symptoms discussed above.
Unmatched Deals on Genuine RAM Parts
At Newparts.com, we provide a comprehensive selection of genuine MOPAR and OEM parts, all available at unbeatable prices. Ensure your RAM stays in top condition with parts that meet strict OEM standards. From critical engine components to routine maintenance items, we’ve got everything you need.
Shop at Newparts.com and enjoy significant savings while maintaining the quality you expect from genuine parts. Perfect for RAM DIYers who want the best without breaking the bank. With a vast inventory and an easy shopping experience, finding the right part is simple. Trust Newparts.com for all your RAM maintenance and upgrade needs.
Causes of Wheel Bearing Failure in the RAM 1500
Understanding the factors contributing to wheel bearing failure in your RAM 1500 can help you take preventative measures and extend the life of these crucial components. Various elements, from the environments you drive to the quality of the parts used, can influence how long your wheel bearings last and how soon they may need replacement.
Driving Conditions
The type of terrain you drive on significantly impacts the longevity of your wheel bearings. Frequent driving on rough roads, off-roading, or exposure to harsh conditions like water and road salt can accelerate wear and tear. These conditions increase the stress on the bearings, leading to premature failure. If you often find yourself navigating such environments, it’s essential to inspect your wheel bearings more frequently.
Wear and Tear
Like many components in your vehicle, wheel bearings are subject to wear and tear over time. As you accumulate miles on your RAM 1500, the constant rotation of the wheels and the heavy loads they bear gradually wear down the bearings. This natural degradation is why regular maintenance and timely replacement are vital to keep your truck running smoothly.
Poor Quality Bearings
Using low-quality or sub-standard wheel bearings poses significant risks to your vehicle’s safety and performance. These bearings are often made from inferior materials and may not meet the necessary specifications, leading to a much shorter lifespan and a higher likelihood of failure. Investing in OEM (Original Equipment Manufacturer) or high-quality aftermarket parts is crucial to ensure reliability and durability.
How long do RAM 1500 wheel bearings last?
Typically, wheel bearings on a RAM 1500 can last between 70,000 to 110,000 miles. However, their lifespan can vary depending on driving conditions, maintenance practices, and the bearing’s quality. Regular inspections and mindful driving habits can help maximize their longevity.
Diagnosing Wheel Bearing Issues
Catching wheel bearing problems early can save you from more extensive damage and expensive repairs. Diagnosing these issues involves listening for symptoms and conducting physical inspections. In this section, we’ll guide you through the steps to inspect your wheel bearings at home and help you determine when it’s best to seek professional assistance.
Inspection Guide
Inspecting your RAM 1500’s wheel bearings at home is relatively straightforward with the right tools and precautions. Here’s a step-by-step guide to help you:
Tools Needed — Gather a jack, jack stands, a torque wrench, a pry bar, and a flashlight.
Safety First — Ensure the truck is on a flat, stable surface and use the parking brake. Always use jack stands to support the vehicle securely.
Check for Noise — Spin the wheel manually while it’s off the ground and listen for any grinding or humming noises. These sounds often indicate a bad bearing.
Check for Play — Place one hand on the top of the tire and the other on the bottom. Try to rock the wheel back and forth. If there’s noticeable movement, the bearing might be worn out.
When to Seek Professional Help
While basic inspection can be done at home, there are situations where professional help is necessary. If you’re unsure about your findings, if the problem seems severe, or if the symptoms persist despite maintenance efforts, it’s time to consult a mechanic. Professional diagnosis and repair ensure the issue is addressed correctly, reducing the risk of further complications or unsafe driving conditions.


Repair Solutions for RAM 1500 Wheel Bearing Problems
When addressing wheel bearing issues in your RAM 1500, having the right tools, following safety precautions, and understanding the repair process are crucial for a successful outcome. Whether you decide to tackle the replacement yourself or seek professional help, this section will guide you through the necessary steps and provide cost estimates for both DIY and mechanic services.
Tools You’ll Need
To replace the front wheel bearings on your RAM 1500, you’ll need the following tools —
- Gloves
- Safety goggles
- Hydraulic jack
- Jack stands
- Wheel chock
- Ratchet and socket set
- Wobbly extension set
- Universal joint socket adapter
- Torque wrench
- Spanner set
- Clip remover tool
- Pry bar
- Breaker bar
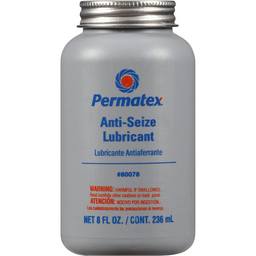
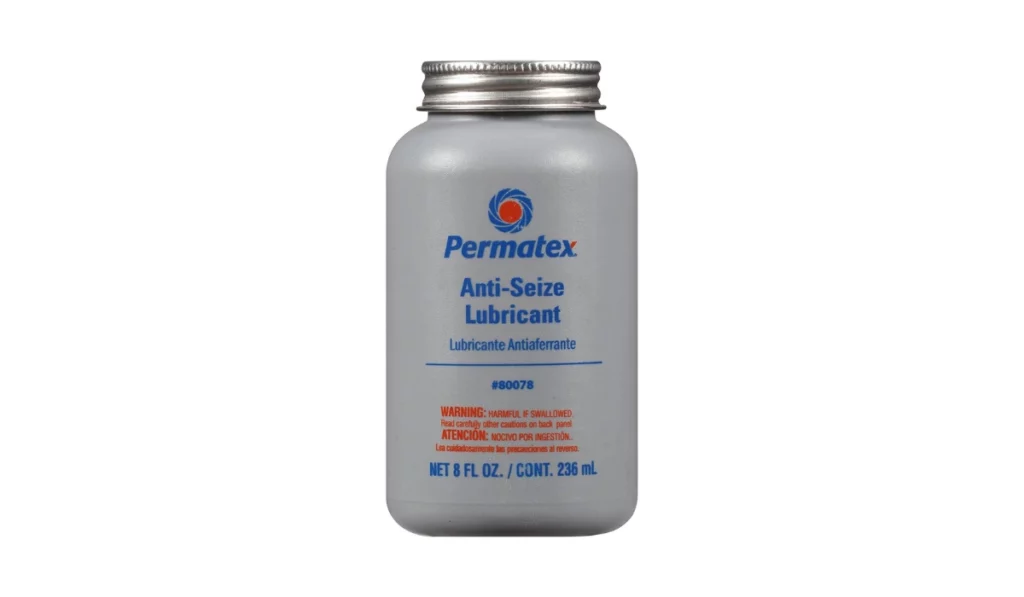
- Anti-seize grease
Safety Steps to Follow
Safety should always be your top priority when working on your vehicle. Ensure your RAM 1500 is parked on a level surface and securely supported by jack stands before beginning the repair. Wear protective gloves and safety glasses, and be cautious when handling heavy components like the wheel hub and bearing assembly.
DIY Replacement Guide
Replacing the front wheel bearings on a 4X2 RAM 1500 involves several steps:
Lift the Truck — Use the jack to lift the truck, and secure it with jack stands.
Remove the Wheel — Use a lug wrench to remove the wheel.
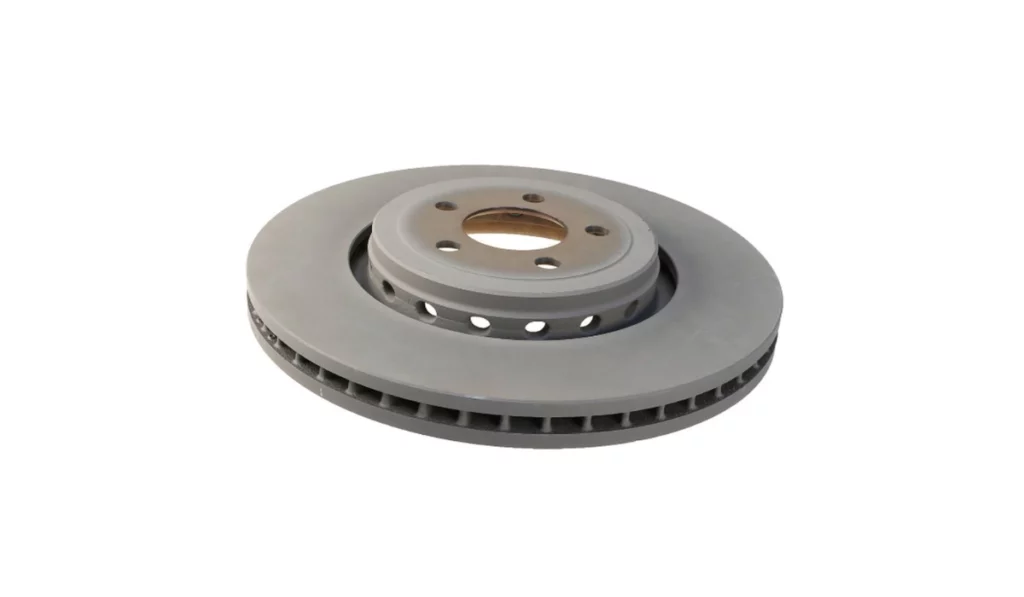
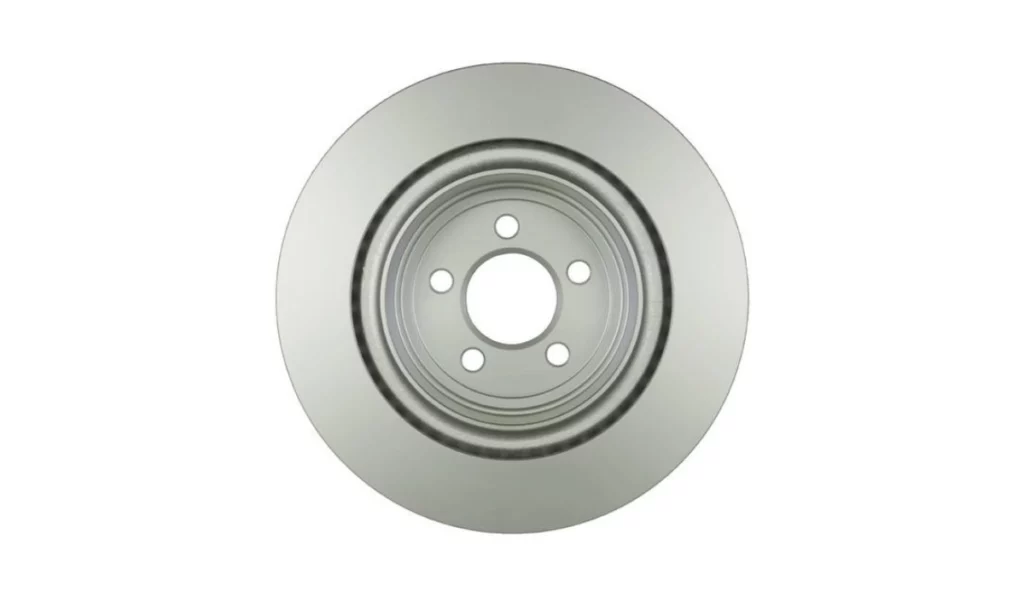
Remove the Brake Caliper and Rotor — Use a socket set to unbolt the brake caliper and hang it out of the way. Then, remove the rotor.
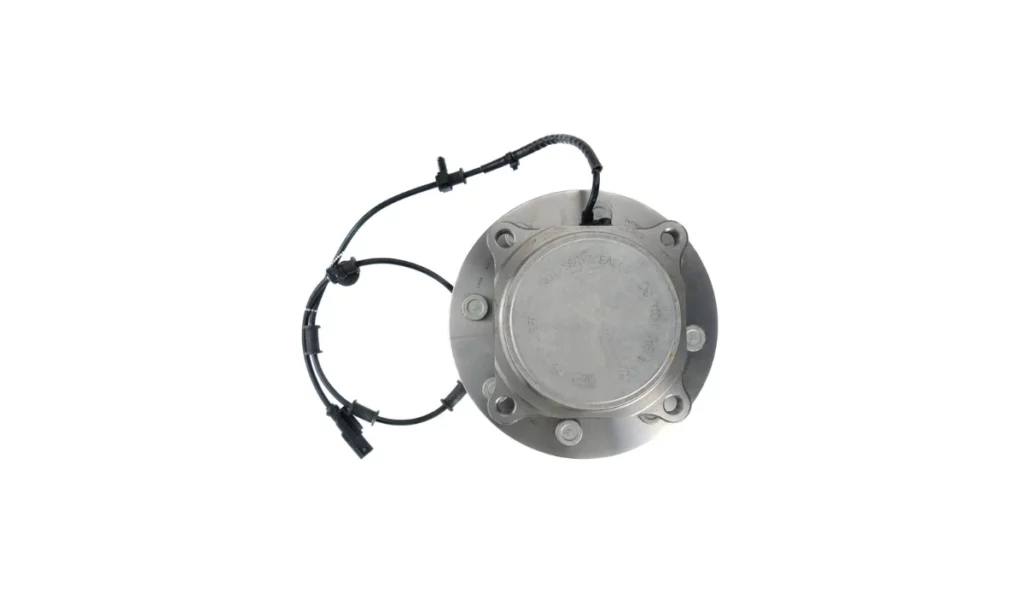
Remove the Hub Assembly — Use a breaker bar and socket to remove the hub assembly bolts. You may need a hub puller to free the hub from the spindle.
Install the New Bearing — Place the new bearing into the hub and reassemble everything in reverse order. Ensure all bolts are torqued to the manufacturer’s specifications.
How much does it cost to replace a wheel bearing on a RAM 1500?
The cost of replacing a wheel bearing on a RAM 1500 varies depending on whether you do it yourself or hire a mechanic. DIY Cost — You can expect to spend around $150 to $450 on parts, depending on the brand and quality of the bearing. Professional Service Cost — If you choose to have the repair done by a mechanic, the total cost typically ranges from $300 to $600, including labor.
Recommended Parts
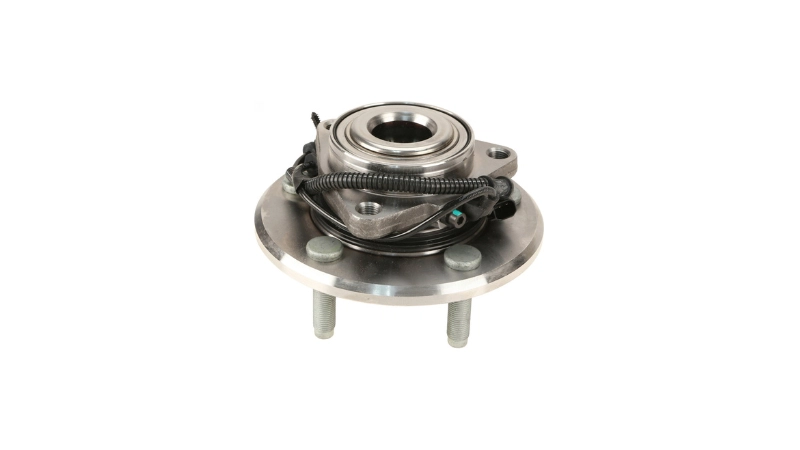
When replacing your RAM 1500’s wheel bearings, it’s crucial to use high-quality parts to ensure longevity and reliability. Newparts.com offers a wide selection of premium OEM and aftermarket wheel bearings that are perfect for your RAM 1500. Using durable, high-quality bearings ensures smoother operation and helps prevent future issues. Trust Newparts.com for all your replacement parts needs to keep your truck running at its best.
Preventive Maintenance Tips
Taking proactive steps to maintain your RAM 1500’s wheel bearings can significantly extend their lifespan and prevent unexpected failures. By paying close attention to early warning signs, conducting regular inspections, and being mindful of the conditions in which you drive, you can keep your truck’s wheel bearings in optimal condition. Here are some essential tips to help you maintain your wheel bearings.
Attention to Abnormal Noises
Always be alert to any unusual sounds coming from your wheels, such as grinding, humming, or roaring. These noises often serve as early indicators of wheel bearing issues. Catching these problems early allows for timely maintenance or replacement before they escalate into more significant and costly repairs.

Regular Inspections
It’s important to inspect your wheel bearings regularly, particularly before going on long trips or after off-road adventures. Regular checks can help you spot wear and tear before it leads to more serious problems. During these inspections, look for signs of play in the wheels, listen for abnormal noises, and visually inspect the wheel hubs for excessive grease leaks.
Lubrication
Although the necessity of additional lubrication for sealed wheel bearings is debated within the community, some RAM 1500 owners opt to add grease to their bearings through the ABS sensor hole every 60,000 miles.
While not universally recommended, some believe this practice theoretically extends the life of the bearings by ensuring they remain adequately lubricated. If you choose to do this, ensure you follow proper guidelines to avoid damaging the sensors or over-greasing.
Avoiding Harsh Conditions
Minimizing your truck’s exposure to harsh conditions like salt, mud, and water can help prevent premature wear on the wheel bearings. If you frequently drive in such environments, cleaning your vehicle regularly to remove corrosive substances and checking your wheel bearings more often for signs of wear or damage is crucial. Consider avoiding deep water crossings or heavily salted roads when possible to extend the life of your bearings.
Get High-Quality Wheel Bearings for Your RAM 1500 at Newparts.com
When it comes to maintaining your RAM 1500, using high-quality parts is essential to ensure longevity and reliability. If you’re facing issues with your wheel bearings or simply want to perform preventive maintenance, look no further than Newparts.com.
We offer a wide selection of premium OEM and aftermarket wheel bearings specifically designed for the RAM 1500, ensuring that you get the best performance and durability. By choosing parts from Newparts.com, you can have peace of mind knowing that you’re investing in components that meet or exceed the original manufacturer’s standards.
Don’t compromise on quality; visit Newparts.com today to find the right parts for your truck and keep it running smoothly for miles to come. Whether you’re a seasoned DIY enthusiast or prefer professional installation, we have the high-quality parts you need to keep your RAM 1500 in top condition.